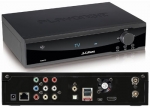
AC Ryan Playon DVR HD firmware
Matériels
AC Ryan Playon!DVR HD lecteur enregistreur multimedia media player telecharger les mises à jour update upgrade firmware free download gratuit
Autre mises à jour
Version
8.5.4.r3966 European
Information concernant la mise à jour
Mise à jour du 10/06/2011
- Type: Firmware
- Langue: Multilangue
 Télécharger la mise à jour 124 Mo
Description
AC Ryan Playon DVR HD lecteur enregistreur multimedia mise à jour firmware version 8.5.4.r3966
Mises à jour :
1. AC Ryan Playon! GUI2.0 – Refreshing new Graphical User Interface
2. Added new Smart Content Management system
- Indexes your HDD/USB storage device and sorts out your media files for quick access from
Movies/Music/Photo on the main menu
- Also lists your Recently Added Music and Recently Added Movies on the main menu
*SCM system can be turned off by choosing “Auto scan off” under SETUP – SYSTEM – Scan Storage
3. Added option for changeable system fonts (.TTF) and background image (.PNG)
- Create a “Resource” folder on your HDD/USB storage device and place your files in this folder
- Select your desired fonts or desktop image from SETUP – SYSTEM for changes to take effect
4. Added option to load your own Photo Album or images from Flickr to run as screensaver
5. Added DLNA DMR support
- Install as a Digital Media Render in your own Windows network
- Works with Windows 7 Play To feature
*For more info, visit http://windows.microsoft.com/en-US/windows7/products/features/play-to
6. Added BD-Lite Menu support for displaying Profile 1.0 menu in supported BD titles
7. Added LPCM Multi-Channel as an HDMI audio output option automatically when a supporting AVR is
connected via HDMI connection
8. Added Transmission torrent client service in SETUP – NETWORK (Replaces current BTPD client)
9. Added UPnP Server service in SETUP - NETWORK
- When turned on, operates as a DLNA DMS (Digital Media Server)
- Using a DLNA DMC (Digital Media Centre), control which media files to play on a DMR/DMP
10. Added “Format HDD Prompt” in SETUP – MISC to enable/disable prompting of HDD format on boot up
11. Added new Internet Media services
- BuddyLink
- Instant Messaging
- Facebook
- Mediafly
- Twitter
- Video Podcasts
- Yahoo Finance
- YouTube
- YouTubeXL
12. Added generic USB Keyboard/Mouse support
13. Added new iPhone web management remote by keying in Safari browser, the IP address of your player
followed by “:1024”
- Example 192.168.1.100:1024 where “192.168.1.100” is your player IP address
*Both the player and your iPhone must be in the same network to work
14. Improved Web Remote Control environment
15. Improved Jukebox interface for use with YAMJ Installer v1.0.3
Windows 32-bit: http://www.acryan.com/downloads/YAMJ_Installer1.0.3_i386.zip
Windows 64-bit: http://www.acryan.com/downloads/YAMJ_Installer1.0.3_x64.zip
16. Improved audio playback on HDMI and S/PDIF
- Fixed stereo pass-through on S/PDIF
- Improved FLAC playback
- Improved Dolby TrueHD playback (for 1073DD C+ board)
- Improved Dolby Digital Plus 7.1 pass-through
17. Improved RM/RMVB playback
18. Improved general stability
19. Improved schedule recording
20. Improved recording from standby
21. Improved time shift function
22. Fixed ThumbGen image glitch when rolling over multiple cover wall
23. Fixed ThumbGen random restart when playing the video after displaying the cover wall
24. Fixed Greek menu language, no longer stays in infinite reboot while this language is selected
25. Removed file copy menu from the main menu. Added file copy/edit/remove functions in Files Manager. Press
EDIT button on the remote control while in the Files Manager for all available options
26. Removed “Guest” as default network username
27. Removed “Schedule Recording” on the main menu. All recording options can now be accessed by pressing
“Menu” button on remote control, while in “DTV” or “AV-IN”
Flashing Procedures:
Two methods to flash the firmware to your Playon!DVRHD
Safe-mode flashing procedure (Recommended)
1. Copy install.img to the root directory of a USB flash drive and connect it to any USB host port of the
unit.
2. Switch off the main power to the unit.
3. Press and hold on to the power button on the front panel of the unit.
4. Switch on the main power.
5. Release the power button when the firmware update starts flashing on your display in a moment and
will automatically reboot when update is completed.
**Do not power off the unit during the flashing process!**
Normal flashing procedure
1. Copy install.img to the root directory of a USB flash drive and connect it to any USB host port of the
unit.
2. Enter the Setup menu, System, USB Upgrade and Enter to confirm.
3. The firmware update will start flashing on your display in a moment and will automatically reboot when
update is completed
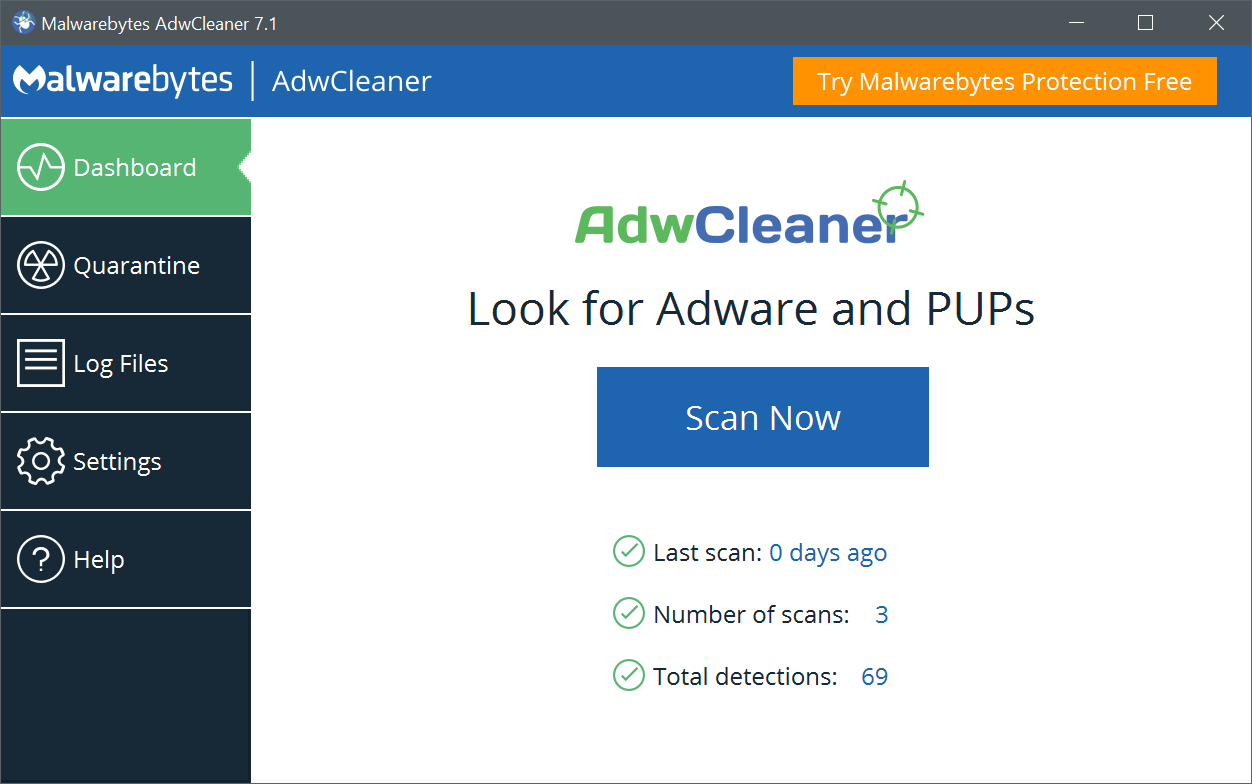 AdwCleaner version 8.4.0 - 8.2 Mo -
 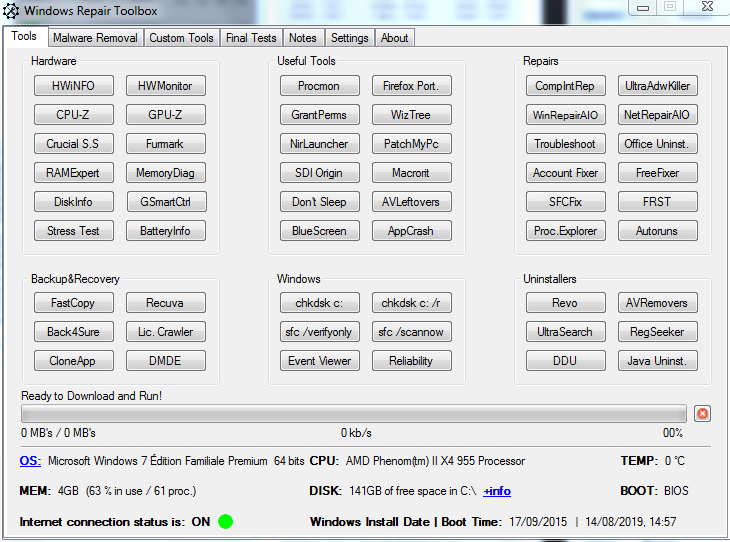 Windows Repair Toolbox 3.0.2.6 - 2.9 Mo -